My System Environment
- Intel i3-7100
- DDR4 4GBx2
- 120GB SSD, 2.5 2TB HDD, 3.5 2TB HDD
- OMV6, Debian11
- portainer/portainer-ce, linuxserver/nextcloud, linuxserver/mariadb, jc21/nginx-proxy-manager
This guide is written for my system by referring to Nextcloud’s official documentation on uploading large files.
Nginx Reverse Proxy
I use a docker image jc21/nginx-proxy-manager to manage the reverse proxy.
It is also commonly called NPM, and there is one simple thing you need to configure with it.
Access your Nginx Proxy Manager admin console.
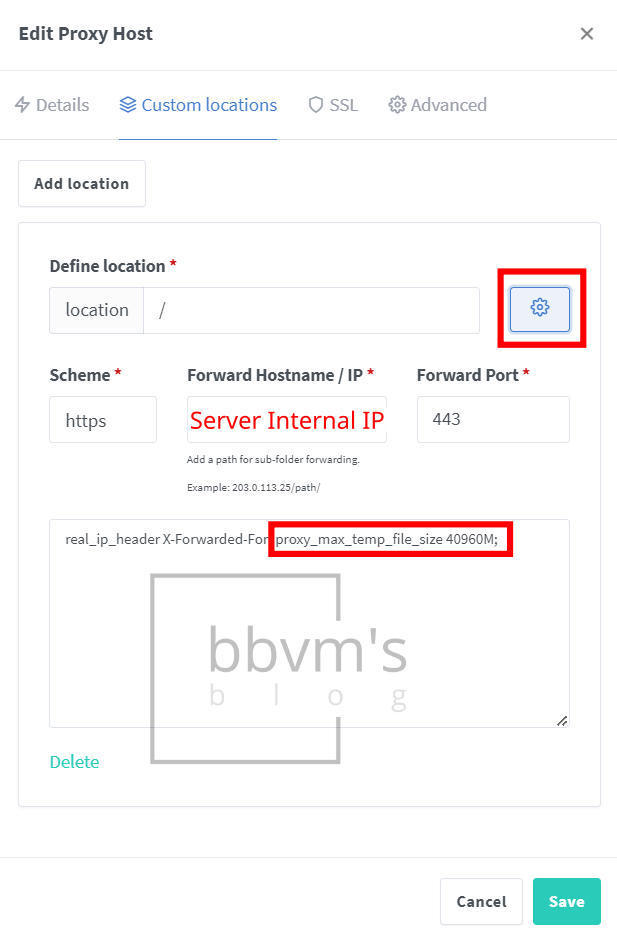
Then find the Nextcloud proxy host, click ‘edit’, and go to the ‘Custom Locations’ tab.
Click Add Location and enter ‘/’ in Define Location.
Choose ‘https’ as the schema and fill out the local IP of the Nextcloud server as the Forward Hostname / IP.
Fill out the port of the Nextcloud container in Forward Port.
If you click the gear wheel in the upper right corner, a box will appear where you can enter the code as shown below.
Copy and paste the following content.
proxy_max_temp_file_size 40960M;
This setting is to allow downloading large files.
By default, this value is set to 1024M, so the maximum file size that can be downloaded at one time is 1GB.
If you want to receive a 1.5GB file, only 1GB will be received and the download will stop with the message ‘Please check your Internet connection.’
Of course, if you press ‘Retry’, you will then receive the remaining 0.5GB, but if you receive a 10GB file instead of 1.5GB, you will have to repeat this 10 times.
The value I set is 40GB. (When entering the code, use M units)
Since this sets the temporary file size, set the size considering the remaining capacity of the storage device where the system OS is installed.
PHP
Now it’s time to touch the PHP settings.
If you are comfortable with SSH, you can do that, but since it is convenient for me to access the container console directly from Portainer, I’m going to explain based on Portainer.

Go to the Portainer admin page, enter the container list, find the Nextcloud container, and click the circled area.
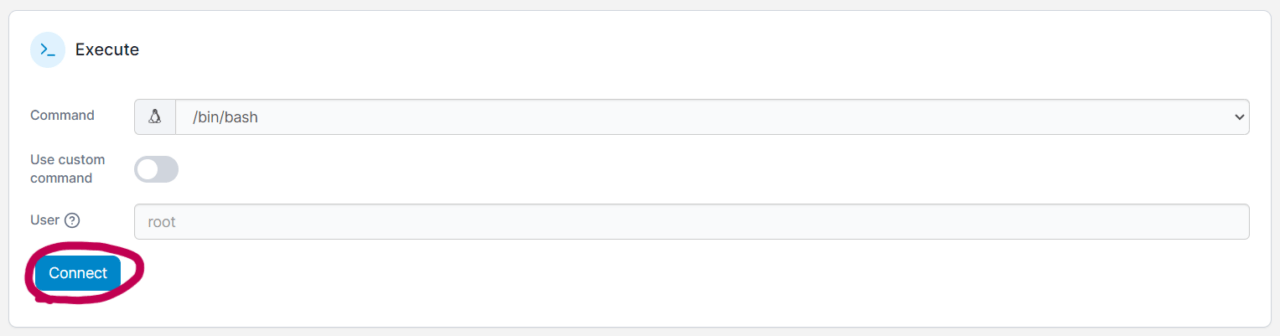
Then, a screen like the one above will appear. Click the ‘connect’ button to connect to the container console.
After connecting, enter the command below.
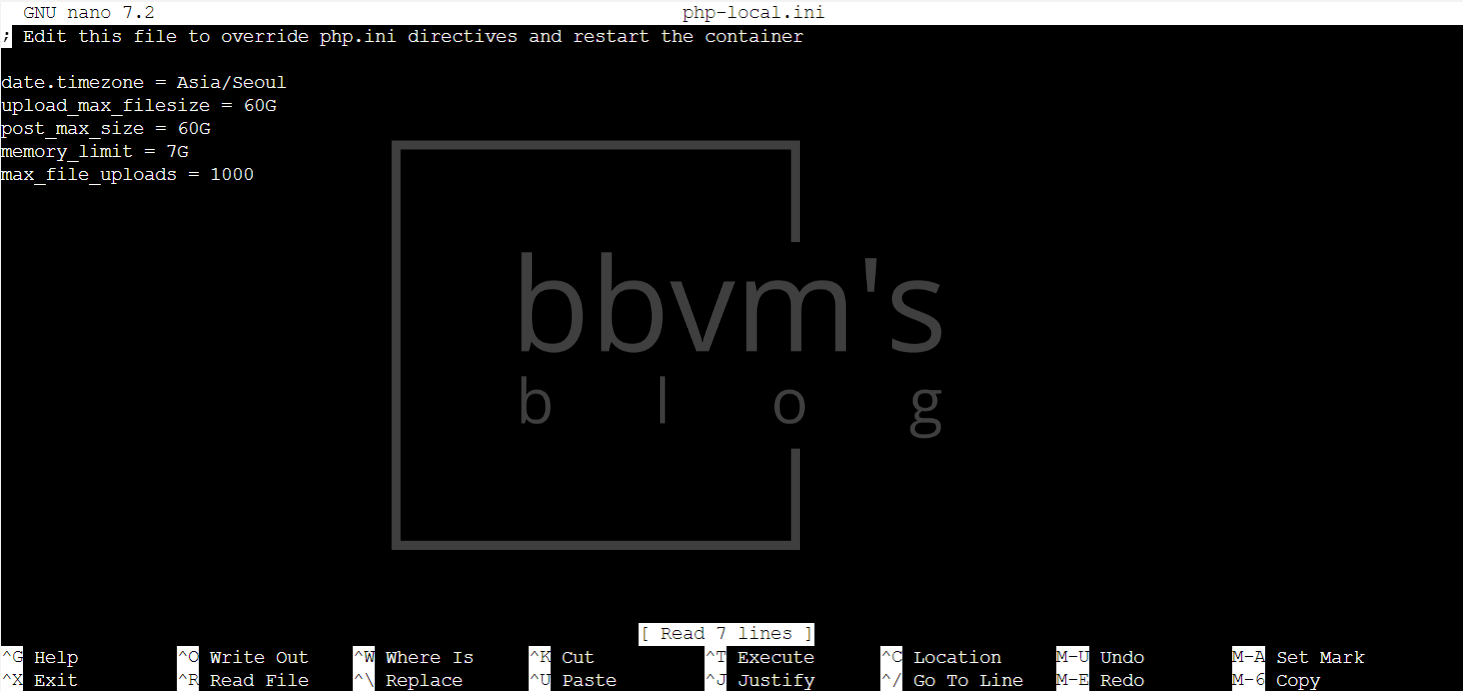
sudo nano /config/php/php-local.iniThen, a screen like the one below will appear.

This shows the php-local.ini file opened with Nano Editor.
Just copy the following code and paste it as shown in the picture above.
(However, when copying/pasting in the Portainer console, it is recommended to use the mouse right-click rather than the keyboard shortcut.)
date.timezone = Asia/Seoul
upload_max_filesize = 60G
post_max_size = 60G
memory_limit = 7G
max_file_uploads = 1000
Set the time zone according to the region where you live.
Technically, the upload_max_filesize, post_max_size, and memory_limit should be smaller than the post_max_size value, and the memory_limit should be less than the upload_max_value, but, if the file is about 60GB, I will upload via SMB, so I just set it like that.
Adjust the memory_limit value according to your system.
After editing, press Ctrl+X, press Y, and then press Enter to save the file.
Then, simply restart the container in Portainer.
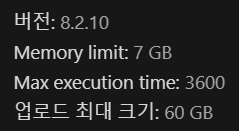
If it has been modified properly, you can check the changes as follows in the system section of the Nextcloud administrator page.
Adjust Nextcloud Chunk Size
By default, Nextcloud sets the chunk size to 10MB when uploading files.
What this means is that when you upload a 100MB file, the server cuts it off in 10MB chunks.
There is quite a delay in the process of cutting and receiving files, so if the file size is in GB, there is a considerable time delay.
So, I want to make this chunk size larger.
There is also a way to set this chunk size to 0, but it is recommended to set it to around 500MB because the probability of errors occurring during the upload process increases and it can become unstable.
As with the PHP settings, open Portainer, access the Nextcloud container console, and paste the following code.
occ config:app:set files max_chunk_size --value 524288000
Anyone using Cloudflare DNS should not set it up as above.
In the case of the free plan, file upload capacity is limited to 100MB, so the chunk size must be set to less than 100MB.
I set it to 90MB, which is a bit more stable.
occ config:app:set files max_chunk_size --value 94371840